VM to host an openvpn client
This post is going to cover using a virtual machine to host a vpn client in a virtual machine to secret the connection from the host machine. The example will be using hyper-v, openvpn, Ubuntu 18.04, and gnome network manager.
Why? Why not? Also, in the world of working from home it is nice to keep the host device separate from the work network in the case of bringing your own device.
Anyway, using Ubuntu with ‘network manager’ makes the type of vpn easy to switch. I’m using Ubuntu 18.04 because it has the best default integration with Windows when using hyper-v. The other reason for using Ubuntu is because it is 2gb or less download while a Windows vm is closer to 20gb. I don’t want to download that much or waste that much disk space. I can also run Ubuntu with a low cpu and memory impact as an interface to a remote machine. Hyper-v is being used because that is what I have on my Windows machine at the moment. Feel free to use vmware, virtual box, parallels, kvm, whatever.
This is mostly going to be a visual guide. I am making the assumption everyone knows how to use google or some similar search engine to fill in the blanks.
I’ve included more screenshots than I normally would in case people are not familiar with Ubuntu. Search Ubuntu, it is easy to use. However, I don’t have screenshots for everything and I’ve not annotated the screenshots.
Hyper-v, VM Install
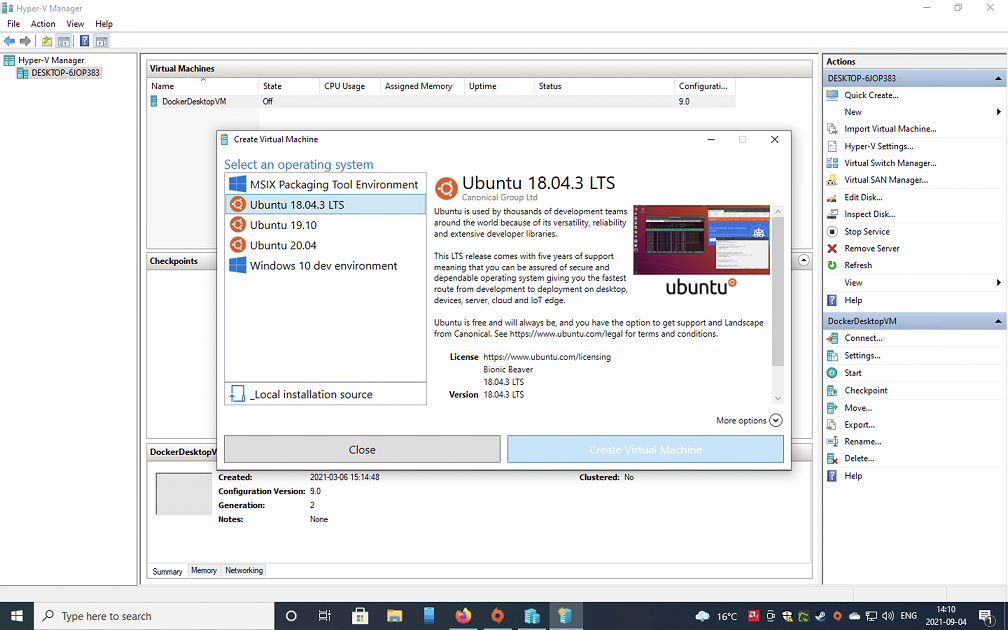
Hyper-v pick an operating system
Hyper v quick create option
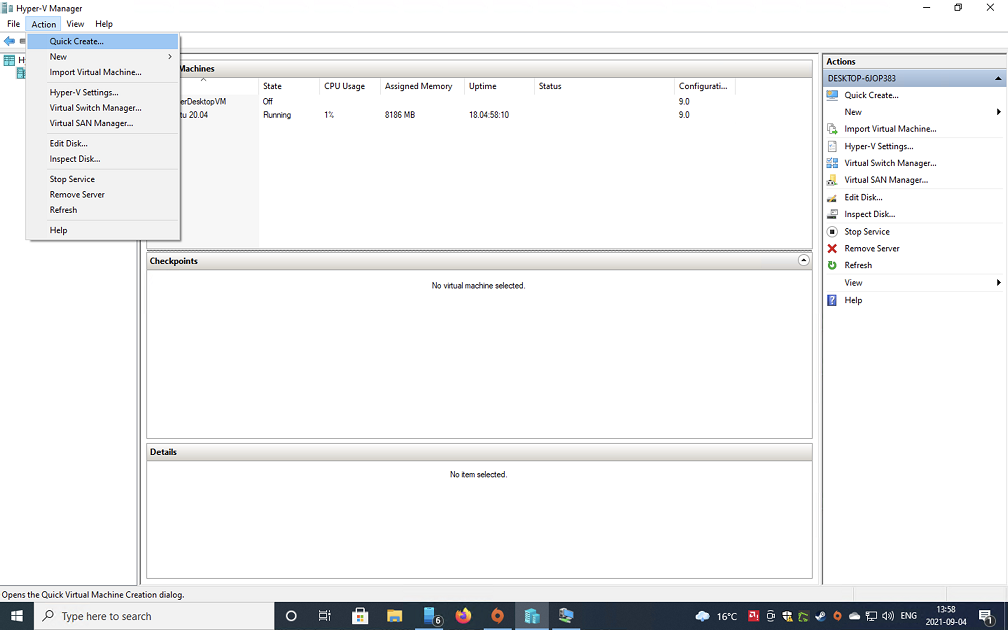
Ubuntu 18.04 has the best integration, at the moment of writing, in hyper-v for linux integration in the quick create options.
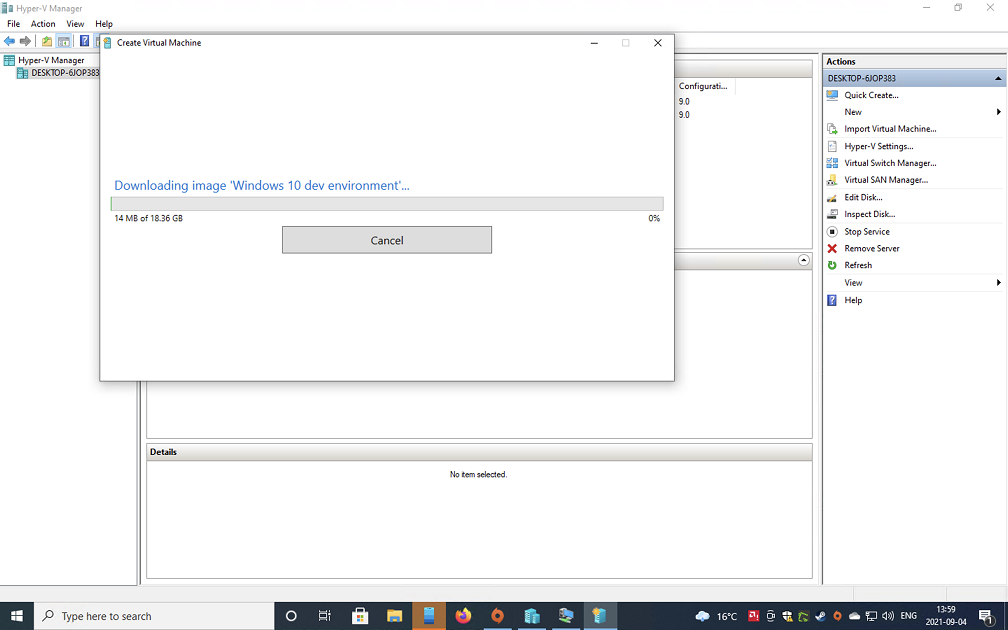
Demonstrate windows download is huge. I advise against choosing windows as the vm. See below and use the ubuntu option (or really whatever you are like).
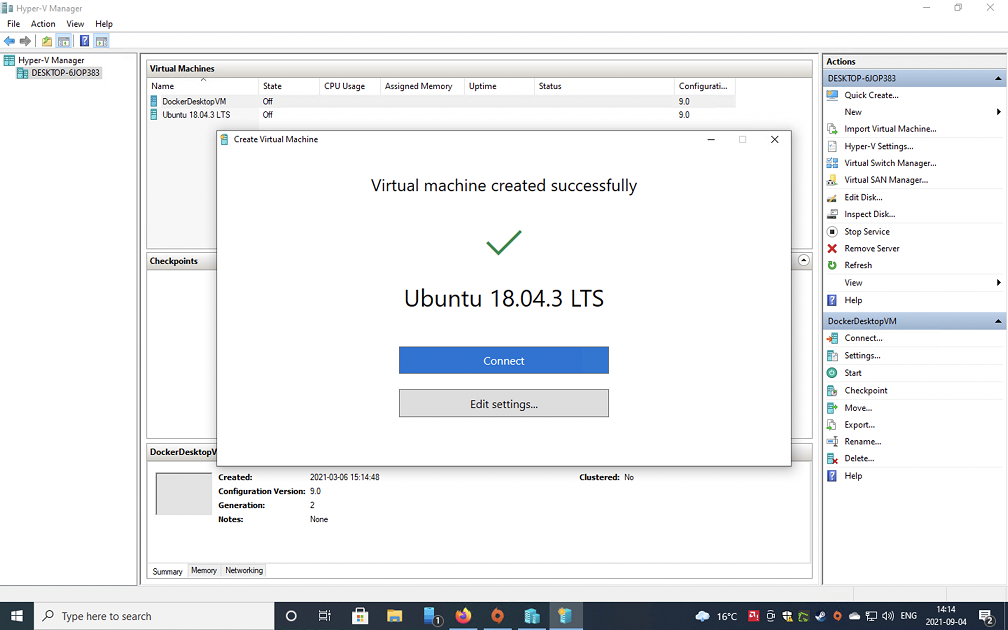
Ubuntu download, much smaller.
Ubuntu downloaded. Connect to the machine to finish the install.
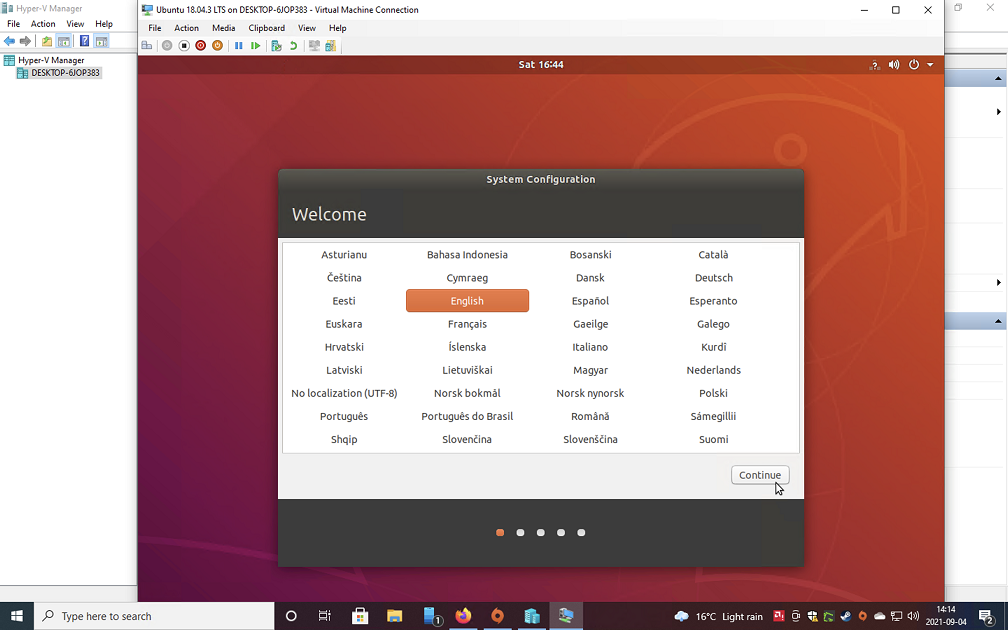
Ubuntu install
Start ubuntu. If you see any error messages about missing drives or anything press enter or the space bar a couple times. Or do both until it starts (one time setup problem).

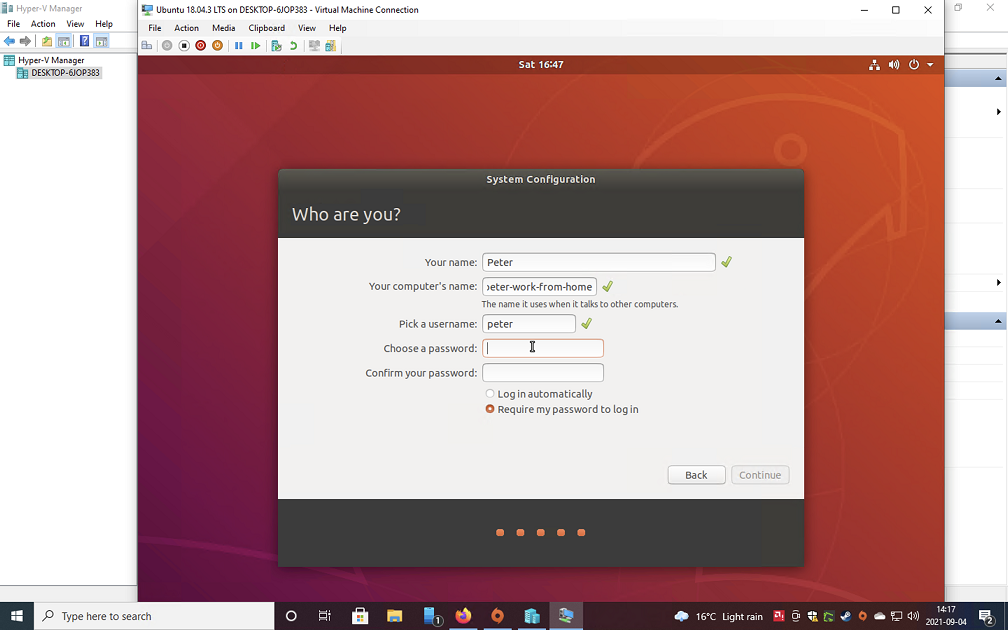
Follow the ubuntu install prompts until you are at the login screen.
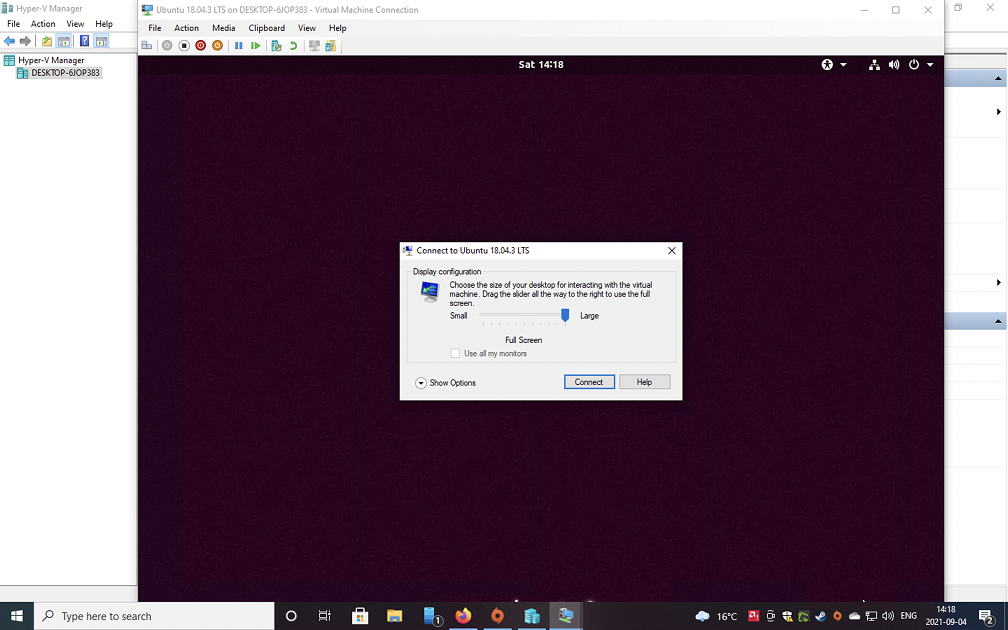
Once the install is done you can pick a screen resolution. I like full screen. The nice thing with ubuntu 18.04 quick create is it comes with hyper-v enhanced sessions enabled so resolution changes apply easily at any time.
If you see an xrdp session login you are running in enhanced mode. Login
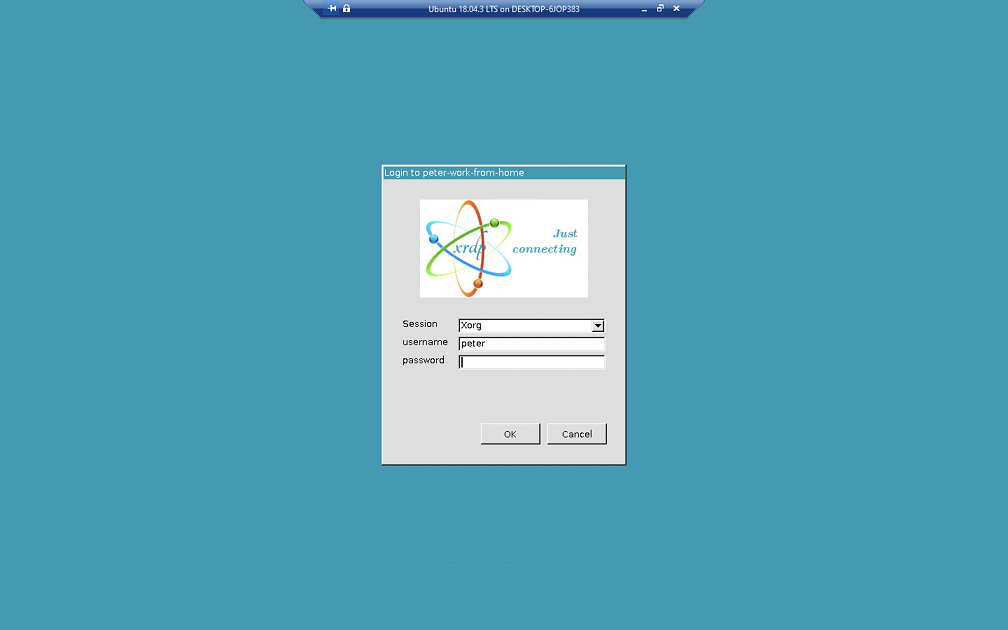
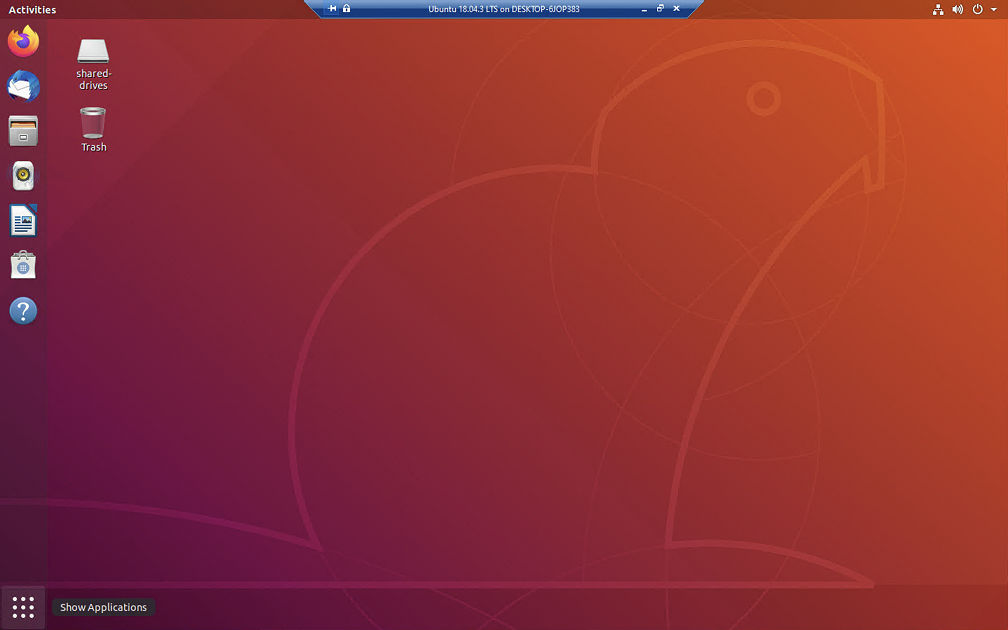
The default ubuntu desktop. You’ll notice you are connected using ‘remote desktop’. The bottom left hand side with 9 circles in a square is the application searcher. You will use it to open applications.
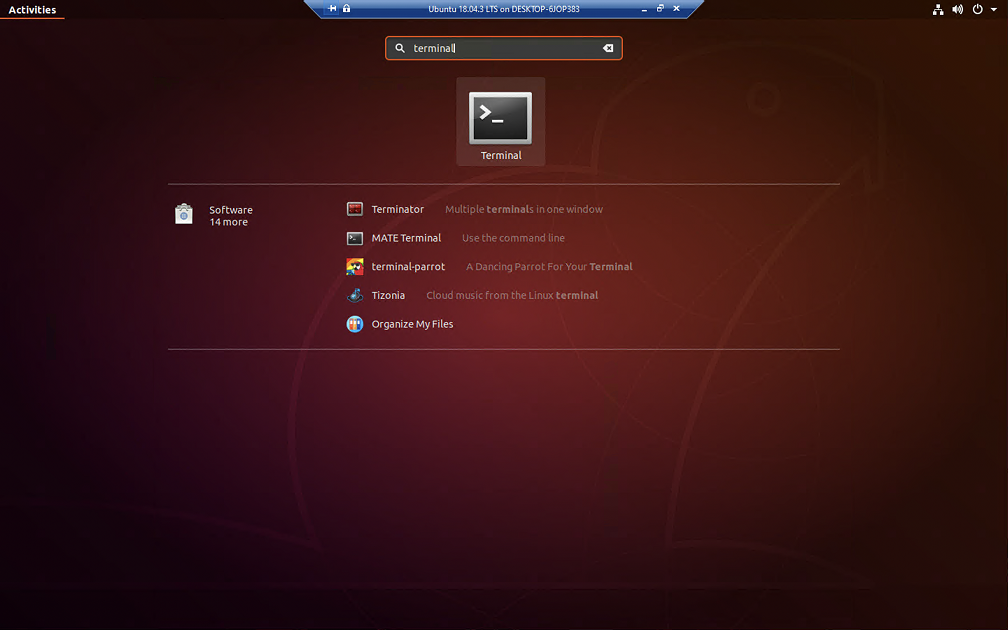
Open VPN Client
Open a terminal command prompt to install open vpn and import your ovpn file. This is assuming you are using an ovpn file that has the certs inlined.
Update and restart the machine and then log back in.
sudo apt update
sudo apt upgrade
sudo apt reboot
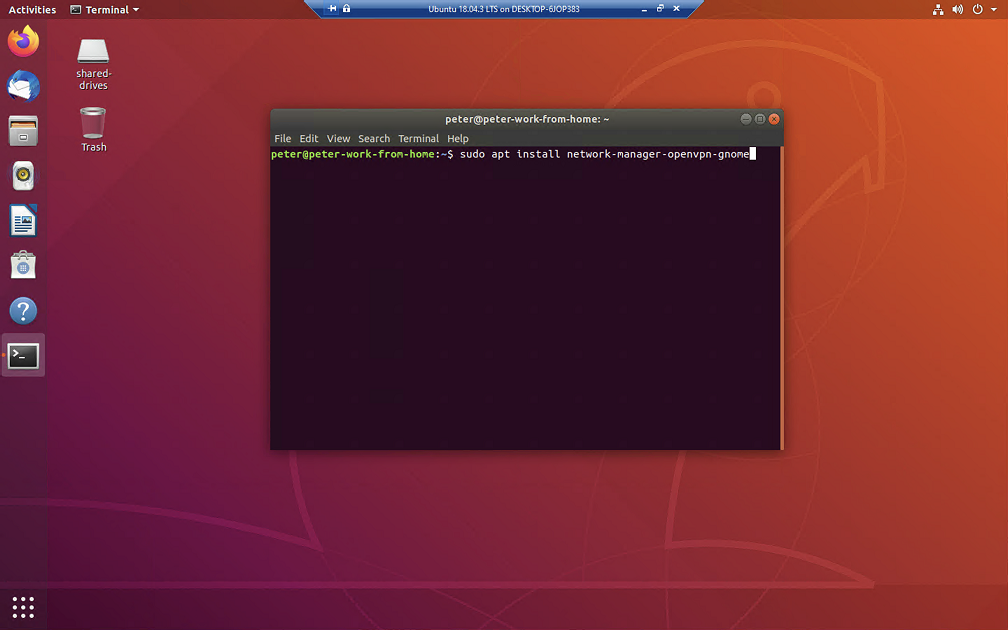
Log back in and install openvpn.
sudo apt install network-manager-openvpn-gnome
With openvpn network manager support added lets import the ovpn file.
sudo nmcli connection import type openvpn file FILE_PATH_NAME
FILE_PATH_NAME is the full path to the .ovpn file if you are not in the same directory.
For example on my machine it might look like this
sudo nmcli connection import type openvpn file /home/peter/downloads/[Whatever-The-File-Is-Named].ovpn
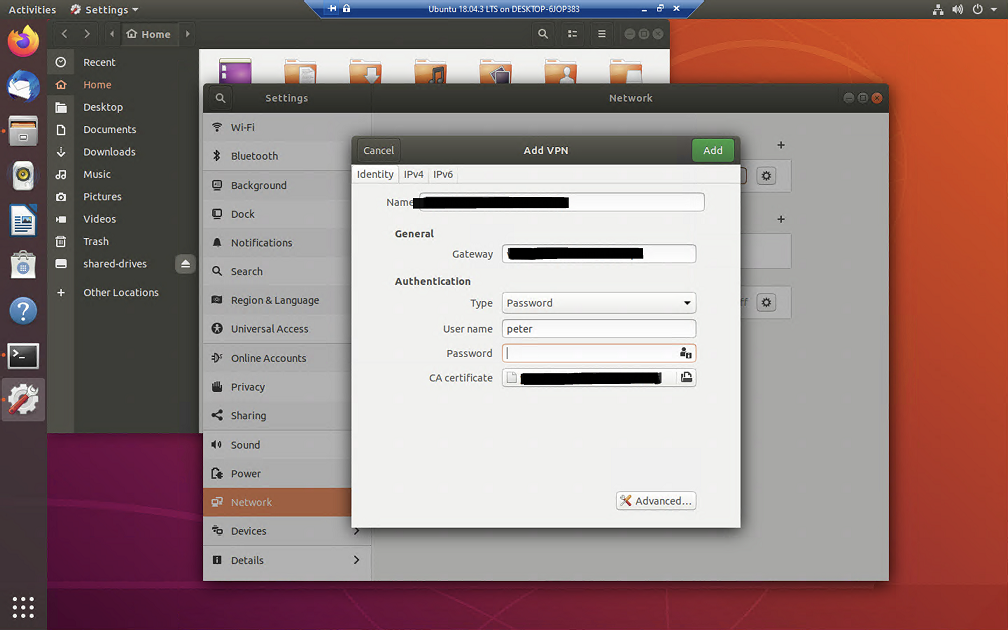
At this point you can enable the vpn in the gui. You’ll want to enter your username and password. Ubuntu will also prompt you for your password and a password for a new keyring.
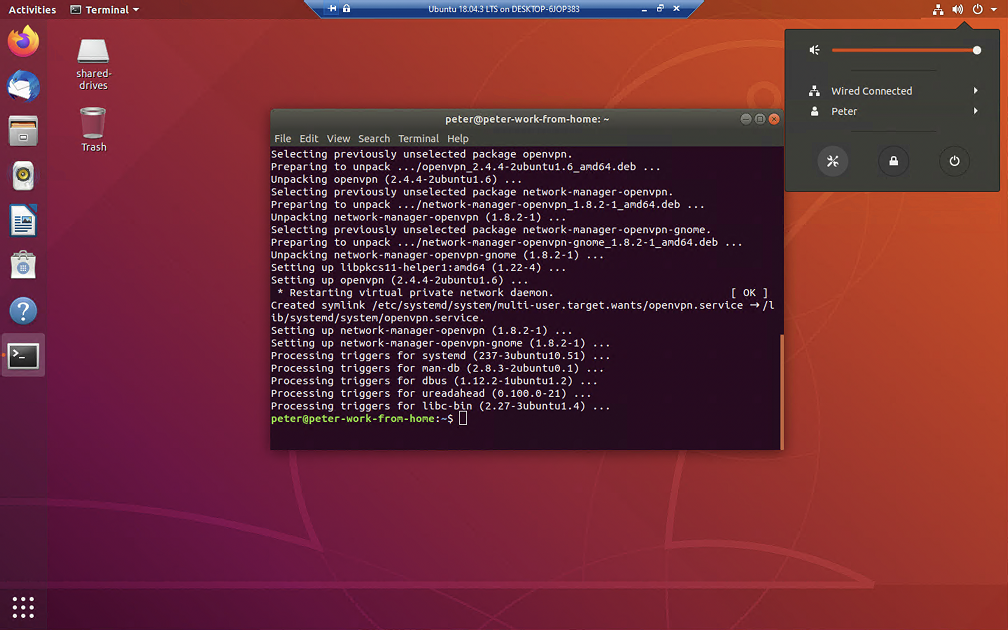
Network Manager GUI options
In the upper right hand of the ubuntu system there will be a network icon that can be clicked to show the network settings including the vpn. From here you can turn on the vpn or modified the credentials to connect.
Remote desktop in Ubuntu
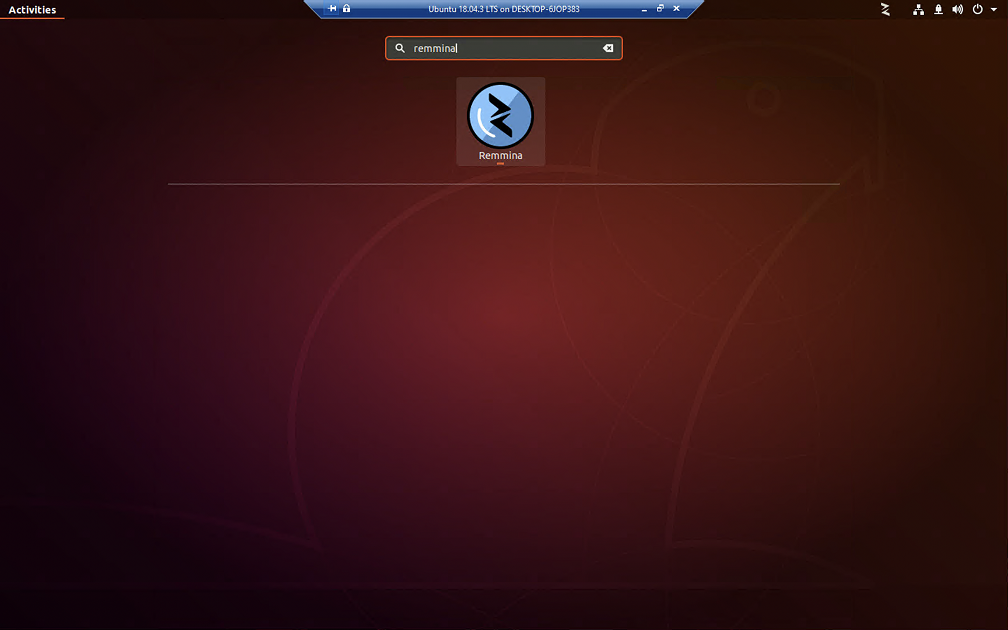
Use the Remmina client that is already installed as part of the quick create ubuntu 18.04 vm. It can be found in the application search. If for some reason remmina is not installed it can be installed from the terminal.
sudo apt install remmina
Once remmina is open click the green + button to configure a new connection.

- Give the profile an easy to understand name. Maybe the machine name. Some nice description.
- Then enter the server name. You probably will need to use the IP address. I almost always have to use the IP address unless it is a public dns name.
- Set the color depth as the default probably will not work from inside the vm. I found true color (24 bpp) worked fine.
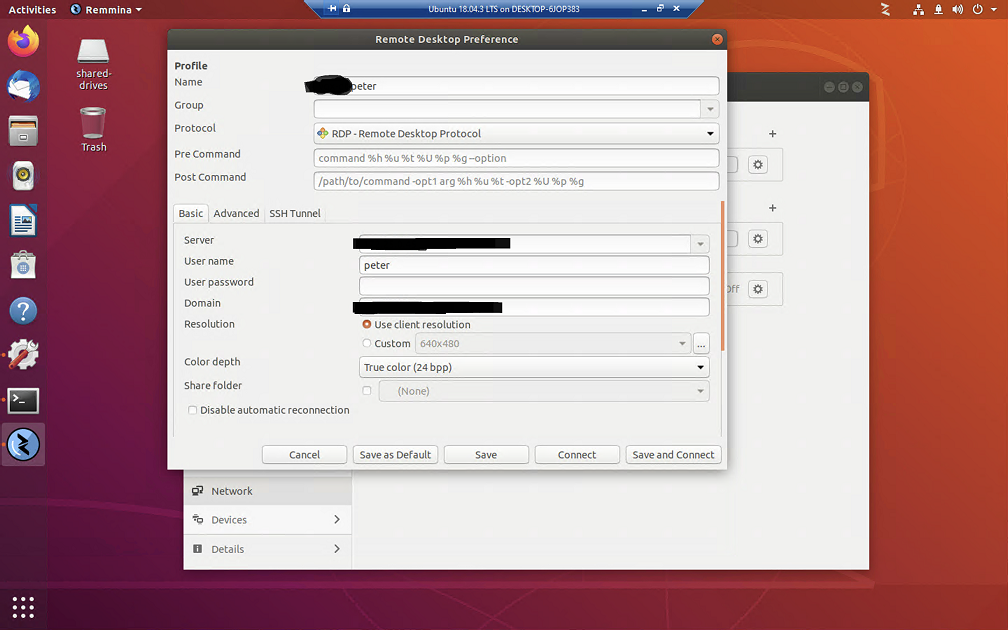
At this point click Save and Connect.
You should at this point be remoted into the remote machine from within the VM that you are running on your local machine. The local machine can use your local internet and not have to worry about the vpn and the vpn does not need to know about your local machine.